
Office Address
Berge du Lac, La Marsa |
Tunis, Tunisie
Phone Number
+216 95 038 819
Email Address
technologyelevator02@gmail.com
contact@technologyelevator.com
Berge du Lac, La Marsa |
Tunis, Tunisie
+216 95 038 819
technologyelevator02@gmail.com
contact@technologyelevator.com


 by Adel Adouni
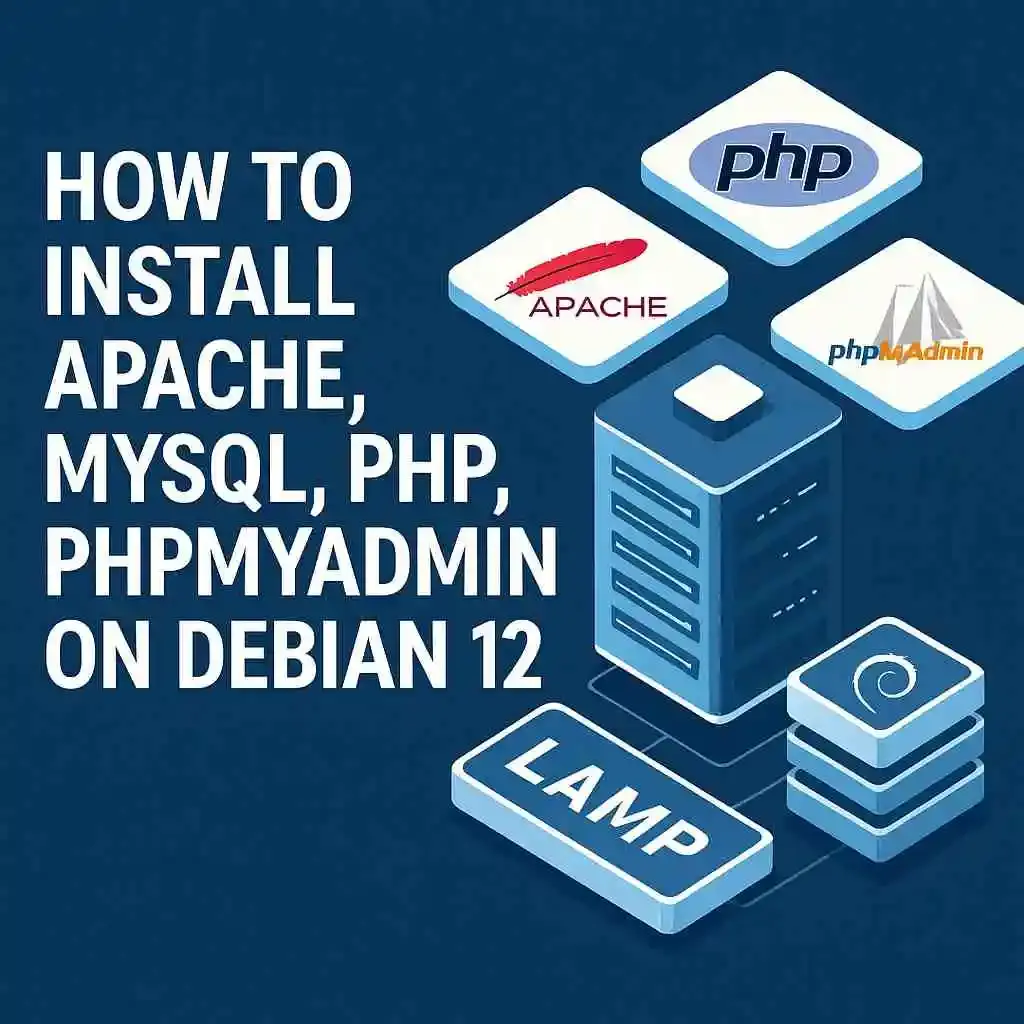
 If you're building a dynamic website or setting up a local server for testing, the LAMP stack (Linux, Apache, MariaDB, PHP) is a powerful combo. In this guide, we’ll walk you through installing Apache, MariaDB, PHP, and PhpMyAdmin on Debian 12 — step by step.
Before we begin, make sure you:
Keep your system up-to-date to avoid compatibility issues.
Apache is one of the most popular and reliable web servers.
sudo apt install apache2 -y
Enable and start Apache:
sudo systemctl enable apache2
sudo systemctl start apache2
Now we will check the status of the apache service using the following command:
systemctl status apache2Verify Apache is working by visiting your server's IP address in a browser:
http://your-server-ip
You should see the Apache default page.
You can enable the following modules according to your needs
a2enmod headers
a2enmod rewrite
systemctl reload apache2
Setting Up Virtual Hosts: Recommended
Create the directory for your_domain as follows, using the -pflag to create any necessary parent directories
sudo mkdir -p /var/www/your_domainAssign ownership of the directory with the $USERenvironmental variable
sudo chown -R $USER:$USER /var/www/your_domainThe permissions of your web roots should be correct if you haven’t modified your unmaskvalue, but you can make sure by typing
sudo chmod -R 755 /var/www/your_domainNext, create a sample index.html page /var/www/your_domain/index.html
<html>
    <head>
        <title>Welcome to your_domain!</title>
    </head>
    <body>
        <h1>Success! Well Done</h1>
    </body>
</html>
Create a virtual host file with the correct directives
sudo nano /etc/apache2/sites-available/your_domain.confPaste in the following configuration block, which is similar to the default, but updated for our new directory and domain name
<VirtualHost *:80>
     ServerAdmin admin@your_email_domain
     DocumentRoot /var/www/your_domain
     ServerName your_domain
     ServerAlias www.your_domain

     <Directory /var/www/your_domain>
          Options FollowSymlinks
          AllowOverride All
          Require all granted
     </Directory>

     ErrorLog ${APACHE_LOG_DIR}/your_domain_error.log
     CustomLog ${APACHE_LOG_DIR}/your_domain_access.log combined

</VirtualHost>
Let’s enable the file with the a2ensite tool
sudo a2ensite your_domain.confDisable the default site defined in 000-default.conf
sudo a2dissite 000-default.confNext, let’s test for configuration errors
sudo apache2ctl configtestRestart Apache to implement your changes
sudo systemctl restart apache2Install a firewall if you haven't already here
Adjusting the Firewall
sudo ufw allow 'WWW'
sudo ufw allow 'OpenSSH'
You can verify the change by typing
sudo ufw statusYou should see HTTP traffic allowed in the displayed output
Output
Status: active

To                         Action      From
--                         ------      ----
OpenSSH                    ALLOW       Anywhere
WWW                        ALLOW       Anywhere
OpenSSH (v6)               ALLOW       Anywhere (v6)
WWW (v6)                   ALLOW       Anywhere (v6)
Apache should now be serving your domain name. You can test this by navigating to http://your_domain, where you should see something like this:

Secure your installation:
sudo mysql_secure_installation
Follow the prompts to:
We need to start by installing the following packages
Import and add the public key of the sury repositories
wget https://packages.sury.org/php/apt.gpg
sudo apt-key add apt.gpg
Add the sury repositories to your system via apt/sources.list
echo "deb https://packages.sury.org/php/ $(lsb_release -sc) main" | sudo tee /etc/apt/sources.list.d/php8.listUpdate your repository index
apt-get updateInstall PHP 8
apt-get install -y php8.3 php8.3-cli php8.3-commonLet's verify the PHP version
php -vNow we can proceed to install the additional packages necessary for the proper functioning of PHP with your system
sudo apt-get install php8.3 php8.3-cli php8.3-common php8.3-imap php8.3-redis php8.3-snmp php8.3-xml php8.3-mysqli php8.3-zip php8.3-mbstring php8.3-curl libapache2-mod-php -yWe can now test the functionality of our PHP package. To do this, we will create an info.php file and insert the phpinfo into it
echo "<?php phpinfo(); ?>" | sudo tee /var/www/html/info.php
Visit:
http://your-server-ip/info.php
sudo apt install phpmyadmin -y
During the installation:
Enable the PhpMyAdmin configuration:
sudo ln -s /etc/phpmyadmin/apache.conf /etc/apache2/conf-enabled/
sudo systemctl reload apache2
Access PhpMyAdmin:
http://your-server-ip/phpmyadmin
Remove the info.php file after testing for security reasons:
sudo rm /var/www/html/info.php
Congrats! You’ve successfully installed the LAMP stack and PhpMyAdmin on Debian 12. You now have a fully functional environment for hosting PHP applications and managing databases with ease.
Whether you're working on a new project or setting up a development server, you're now equipped with the tools you need.
At Technology Elevator, we don’t just share tech tutorials — we build powerful, scalable, and secure digital solutions tailored to your business needs. Whether you're launching a simple website or a complex web application built on the LAMP stack, our team of expert developers and digital strategists is here to help.
🔹 Custom Website & App Development
🔹 Cloud Hosting & Cybersecurity Solutions
🔹 Full-Service Digital Marketing (SEO, PPC, Social Media)
🔹 Scalable Infrastructure & Ongoing Support
🎯 Ready to turn your idea into a high-performing digital product? Let’s build something great — together.
📩 Get in touch today for a free consultation and elevate your tech strategy with Technology Elevator!